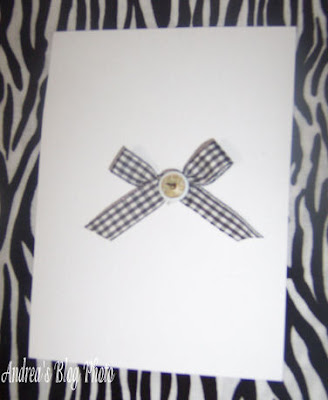
I have a million and one tutorials just lined up for you, and the fact that I just figured out how to schedule blog posts means that you will be getting a couple every week! Hooray for you...So this tutorial is for us savvy cork board using people. Just in case you didn't know, I love making bows...and I can make them with my eyes closed....(okay maybe with ONE eye closed!) and there are hurdreds of bows floating around my studio. From tiny itsy bitsy bows to big Texas style bows you can find them in there.
This easy project calls for the small to medium sized bows, flat back tacks, a glue gun, and a cork board. For all of you visual learners you can figure it all out by just looking at the pictures. If you need a little more instruction all you need to do is put a little dab of glue on the back of the bow and glue the tack to the back of the bow. Let dry and then add your new tack to the cork board! Tada!! I told you that this was an easy project.
If you look closely you can see the little arrow pointing to the finished product in the last photo. You can also use other items and attach them to your flat back push pins. Do you see the cute frogs that I made into push pins? How cute! I got the flat wood characters from Michaels already painted and just added two push pins, one on the top and the other on the bottom. Then I added my name with alphabet beads.
Till next time,
Andre'a


No comments:
Post a Comment